Visual Studio Extensions
Visual Studio 2022
The latest and most feature-complete version of the extension with enhanced performance and the newest Visual Studio integration features.
🚀 Visual Studio 2022
Latest version with full support for all code generators, enhanced performance, and modern Visual Studio integration.
Download for VS 2022Key Features:
- Full support for all code generators (NSwag, OpenAPI Generator, Kiota, Refitter, and Swagger Codegen CLI)
- Latest Visual Studio integration APIs
- Enhanced performance and stability
- Modern UI and improved user experience
- Advanced configuration options
Visual Studio 2019
Stable version with all core features, perfect for teams still using Visual Studio 2019.
⭐ Visual Studio 2019
Proven stability with comprehensive feature support for Visual Studio 2019 environments.
Download for VS 2019Visual Studio 2017
Legacy support for older Visual Studio installations that still need modern API client generation capabilities.
🔧 Visual Studio 2017
Legacy support maintaining core functionality for Visual Studio 2017 environments.
Download for VS 2017Installation from Visual Studio
- Open Visual Studio
- Go to Extensions → Manage Extensions
- Search for "REST API Client Code Generator"
- Click Download and restart Visual Studio
Visual Studio Code
Cross-platform extension for VS Code with context menu integration for JSON and YAML files.
💻 Visual Studio Code
Cross-platform support with context menu integration for OpenAPI specification files.
Download for VS Code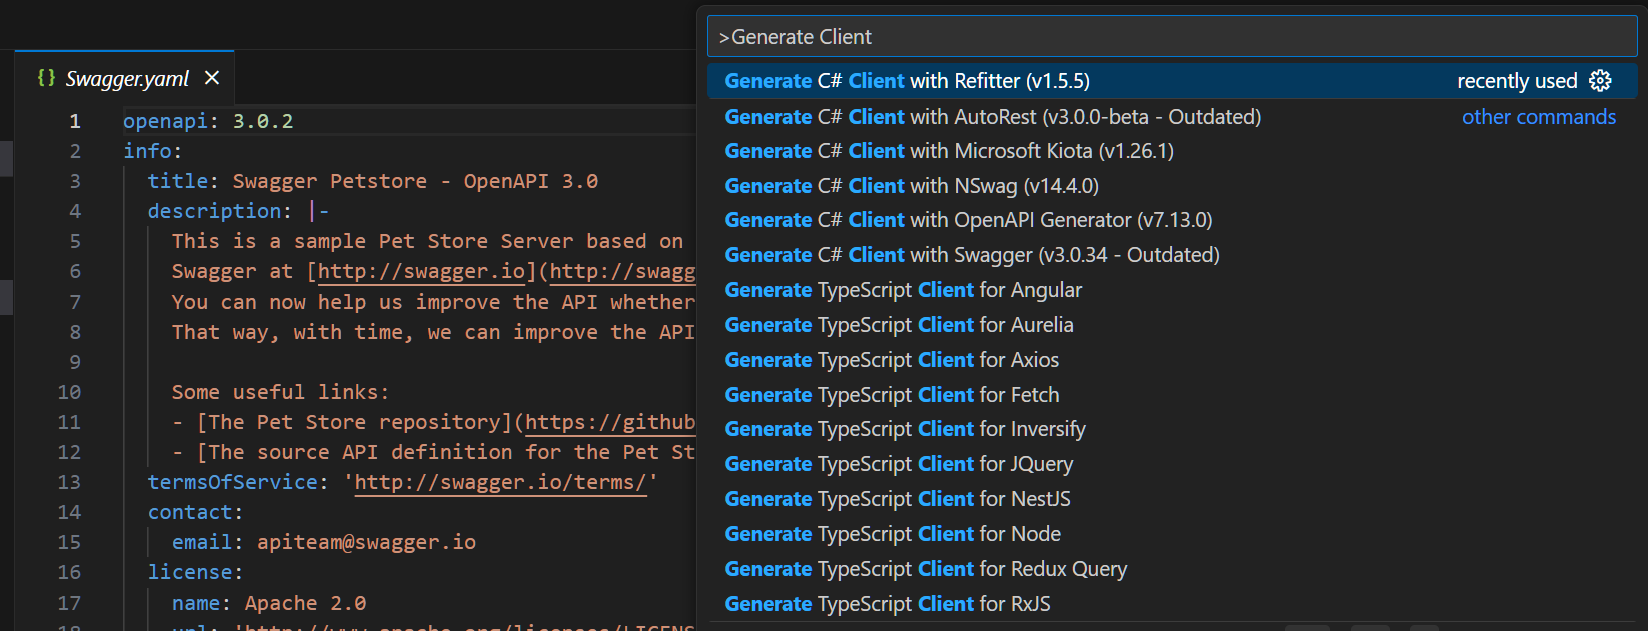
VS Code command palette integration for quick access
Manual Installation for VS Code
- Download the VSIX file from the GitHub releases page
- Open VS Code
- Go to Extensions view (Ctrl+Shift+X)
- Click on the "..." menu in the top right corner
- Select "Install from VSIX..."
- Select the downloaded .vsix file
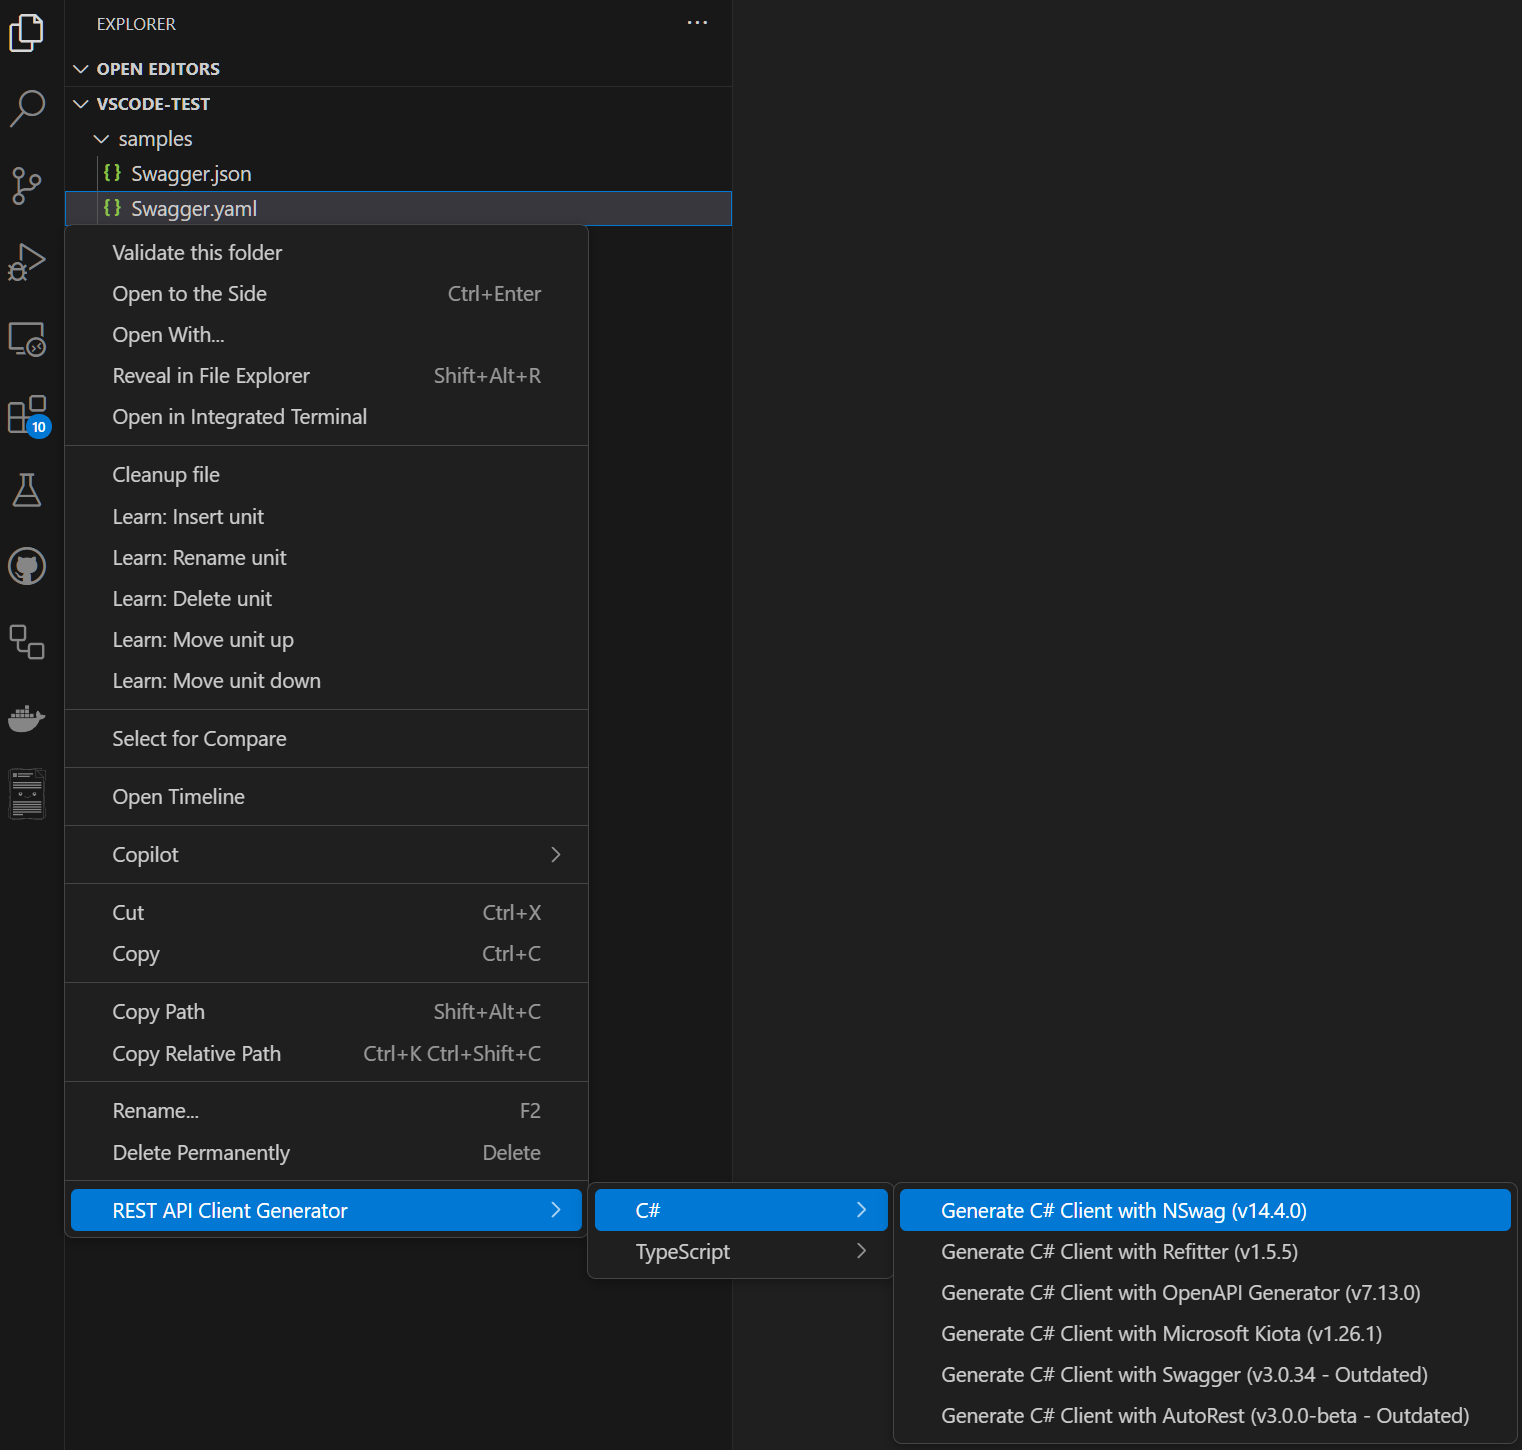
Context menu for C# code generation in VS Code

TypeScript code generation support in VS Code
Visual Studio for Mac
Complete feature parity with Windows Visual Studio, supporting all code generators and configuration options.
🍎 Visual Studio for Mac
Full-featured extension for macOS developers with complete Visual Studio integration.
Download for VS Mac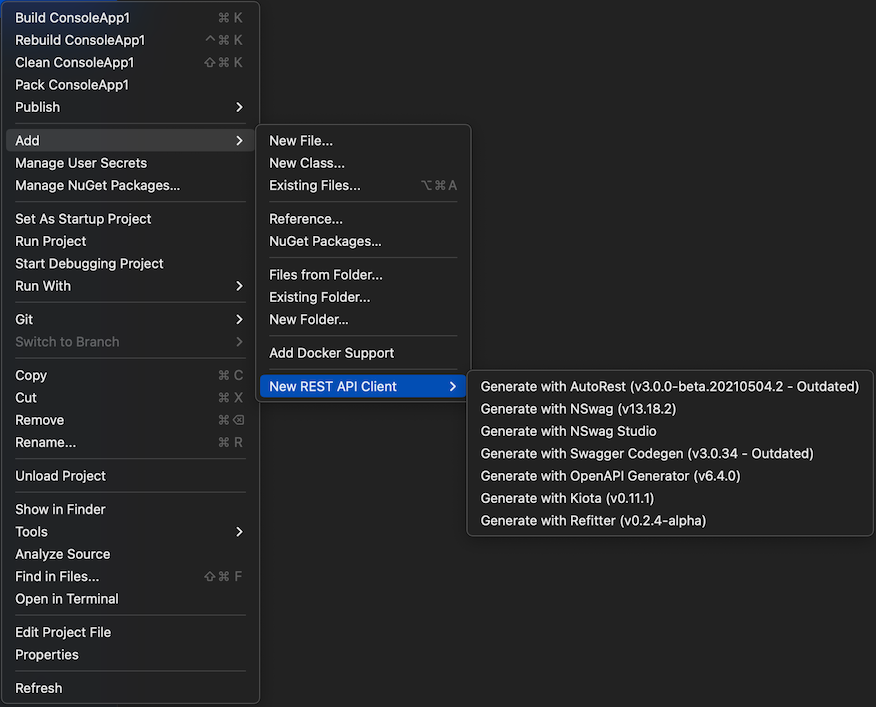
Visual Studio for Mac integration with native "Add New" menu
Option 1: Extension Repository (Recommended)
- Open Visual Studio for Mac Extension Manager
- Go to Visual Studio → Extensions
- Select the Gallery tab
- Expand the Repository dropdown and select Manage Repositories
- Press Add and register:
https://christianhelle.com/vsmac/main.mrep - Install from the Gallery tab
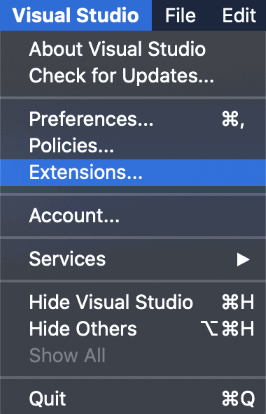
Opening the Extensions Manager in Visual Studio for Mac

Managing extension repositories
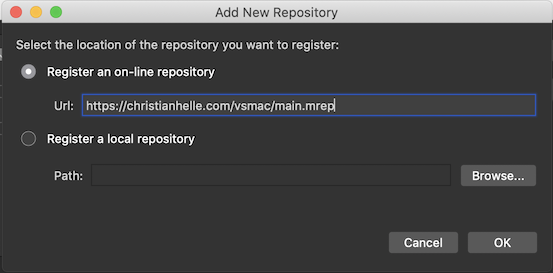
Adding the custom extension repository
Option 2: Direct Installation
- Download the latest .mpack file from GitHub Releases
- Open Visual Studio for Mac
- Go to Visual Studio → Extensions
- Click Install from File
- Browse to and select the .mpack file
- Click Install and restart Visual Studio for Mac
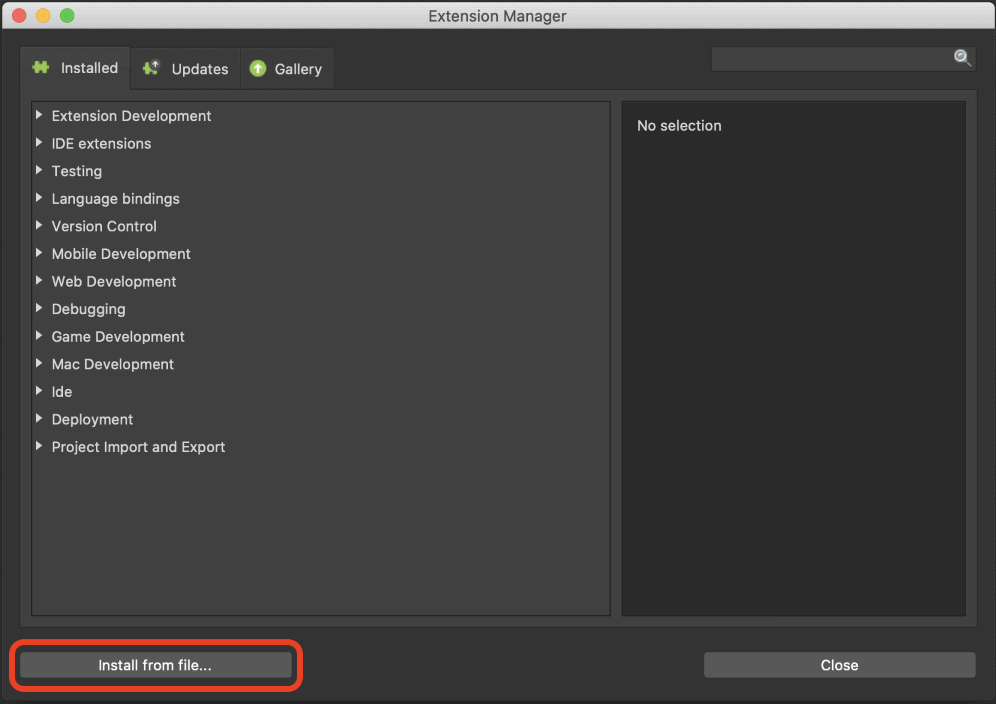
Installing extension from .mpack file
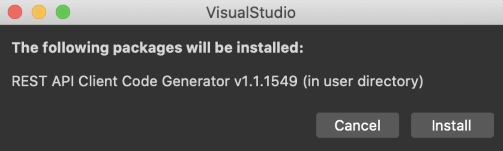
Installation confirmation dialog
VS Mac Usage Examples
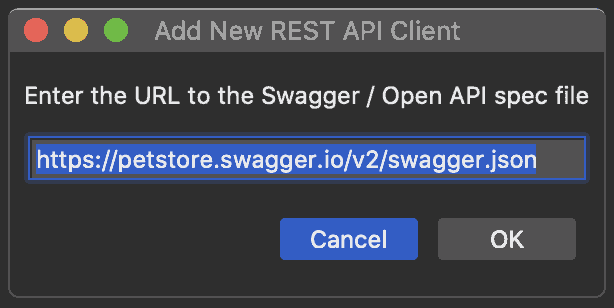
OpenAPI specification configuration dialog on macOS
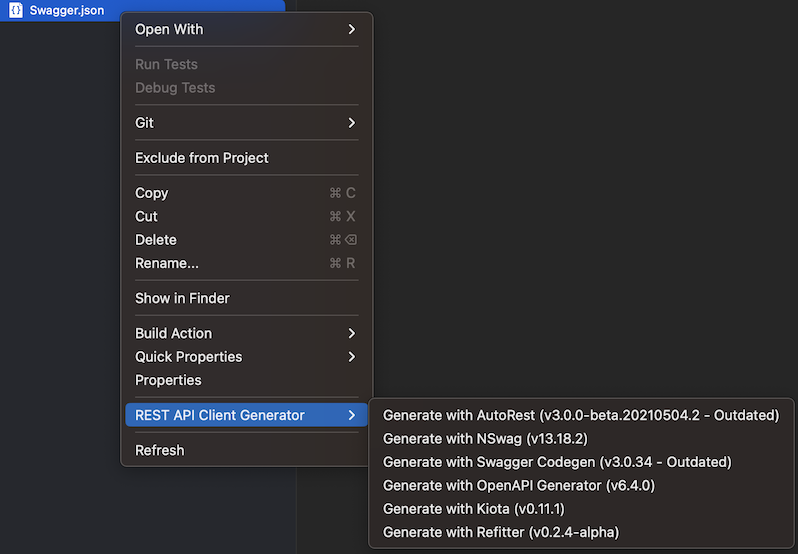
Code generation context menu options
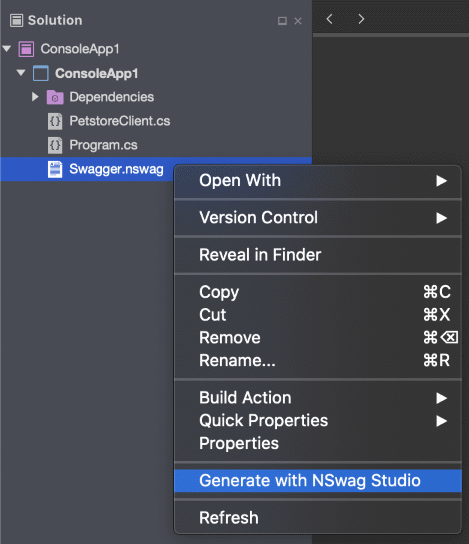
NSwag Studio integration on macOS
Command Line Tool
Cross-platform CLI tool perfect for automation, CI/CD scenarios, and developers who prefer command-line workflows.
⚡ Cross-Platform CLI Tool
Powerful command-line tool for automation, CI/CD pipelines, and script-based workflows.
dotnet tool install --global rapicgenInstallation
Install as a .NET global tool:
Fresh Installation
dotnet tool install --global rapicgenUpdate to Latest Version
dotnet tool update --global rapicgenInstall Specific Version
dotnet tool install --global rapicgen --version x.y.zReplace x.y.z with the desired rapicgen version from NuGet.
NuGet Package
📦 NuGet Package
Direct access to the NuGet package for custom integrations and advanced scenarios.
View on NuGetInstallation Requirements
For Visual Studio Extensions
System Requirements
- Visual Studio 2017, 2019, or 2022 - Any edition (Community, Professional, Enterprise)
- .NET Framework 4.7.2 or later - Usually included with Visual Studio
- Windows 10 or later - For Visual Studio on Windows
For VS Code Extension
VS Code Requirements
- Visual Studio Code - Latest stable version recommended
- .NET SDK - Required for CLI tool execution
- Cross-platform support - Windows, macOS, Linux
For Command Line Tool
CLI Tool Requirements
- .NET 6.0 runtime or later - Core requirement
- Java Runtime Environment - For Swagger Codegen CLI and OpenAPI Generator
- .NET SDK - For NSwag, Kiota, and Refitter CLI installations
- Internet access - For downloading dependencies on first use
Installation Tips and Best Practices
💡 Pro Tips for Smooth Installation
- First-time use delay - Some code generators download on demand, expect initial delays
- Java configuration - Configure Java path in settings if multiple installations exist
- Network access - Ensure internet access for dependency downloads
- Proxy settings - Configure Java tools for corporate proxies
Corporate Environment Setup
- Java Configuration - Set JAVA_HOME environment variable or configure in extension settings
- Firewall Rules - Allow downloads from GitHub and Maven central
- JAR File Caching - Pre-download JAR files to shared locations if needed
Verification Steps
After installation, verify everything works correctly:
Test CLI Installation
# Verify rapicgen is installed
rapicgen --help

# Test with Swagger Petstore
curl https://petstore.swagger.io/v2/swagger.json -o swagger.json
rapicgen csharp nswag swagger.json PetStore.Client ./test.cs
Getting Started After Installation
- Restart your IDE to ensure the extension is properly loaded
- Test with a sample API using the Swagger Petstore (https://petstore.swagger.io/v2/swagger.json)
- Configure your preferences in the Tools → REST API Client Code Generator settings
- Add your first REST API Client to a project
- Explore the context menus for advanced features
Troubleshooting Installation Issues
Common Issues and Solutions
Extension Not Loading
- Restart Visual Studio completely
- Check Extensions → Manage Extensions → Installed
- Ensure .NET Framework requirements are met
Java Not Found Errors
- Install Java JDK 8 or later
- Set JAVA_HOME environment variable
- Configure Java path in extension settings
Support and Updates
- Check the GitHub Issues page for common problems and solutions
- Review the comprehensive README for detailed documentation
- Submit new issues with installation details if you encounter problems
- Star the repository to stay updated on new releases