Azure Entra ID Authentication with Scalar and .NET 9.0
Swagger UI and Swashbuckle.AspNetCore are two popular tools for working with OpenAPI for ASP.NET Core Web APIs. Both tools have come with benefits and problems, but that said, most .NET developers have gotten used to it. Unfortunately, in May 2024, Microsoft announced that Swashbuckle.AspNetCore will be removed from .NET 9.0. For the past year or so, I started using .http files in favor of Swagger UI. Using .http files immediately lead me to develop HTTP File Generator, a tool that can generate a suite of .http files from OpenAPI specifications
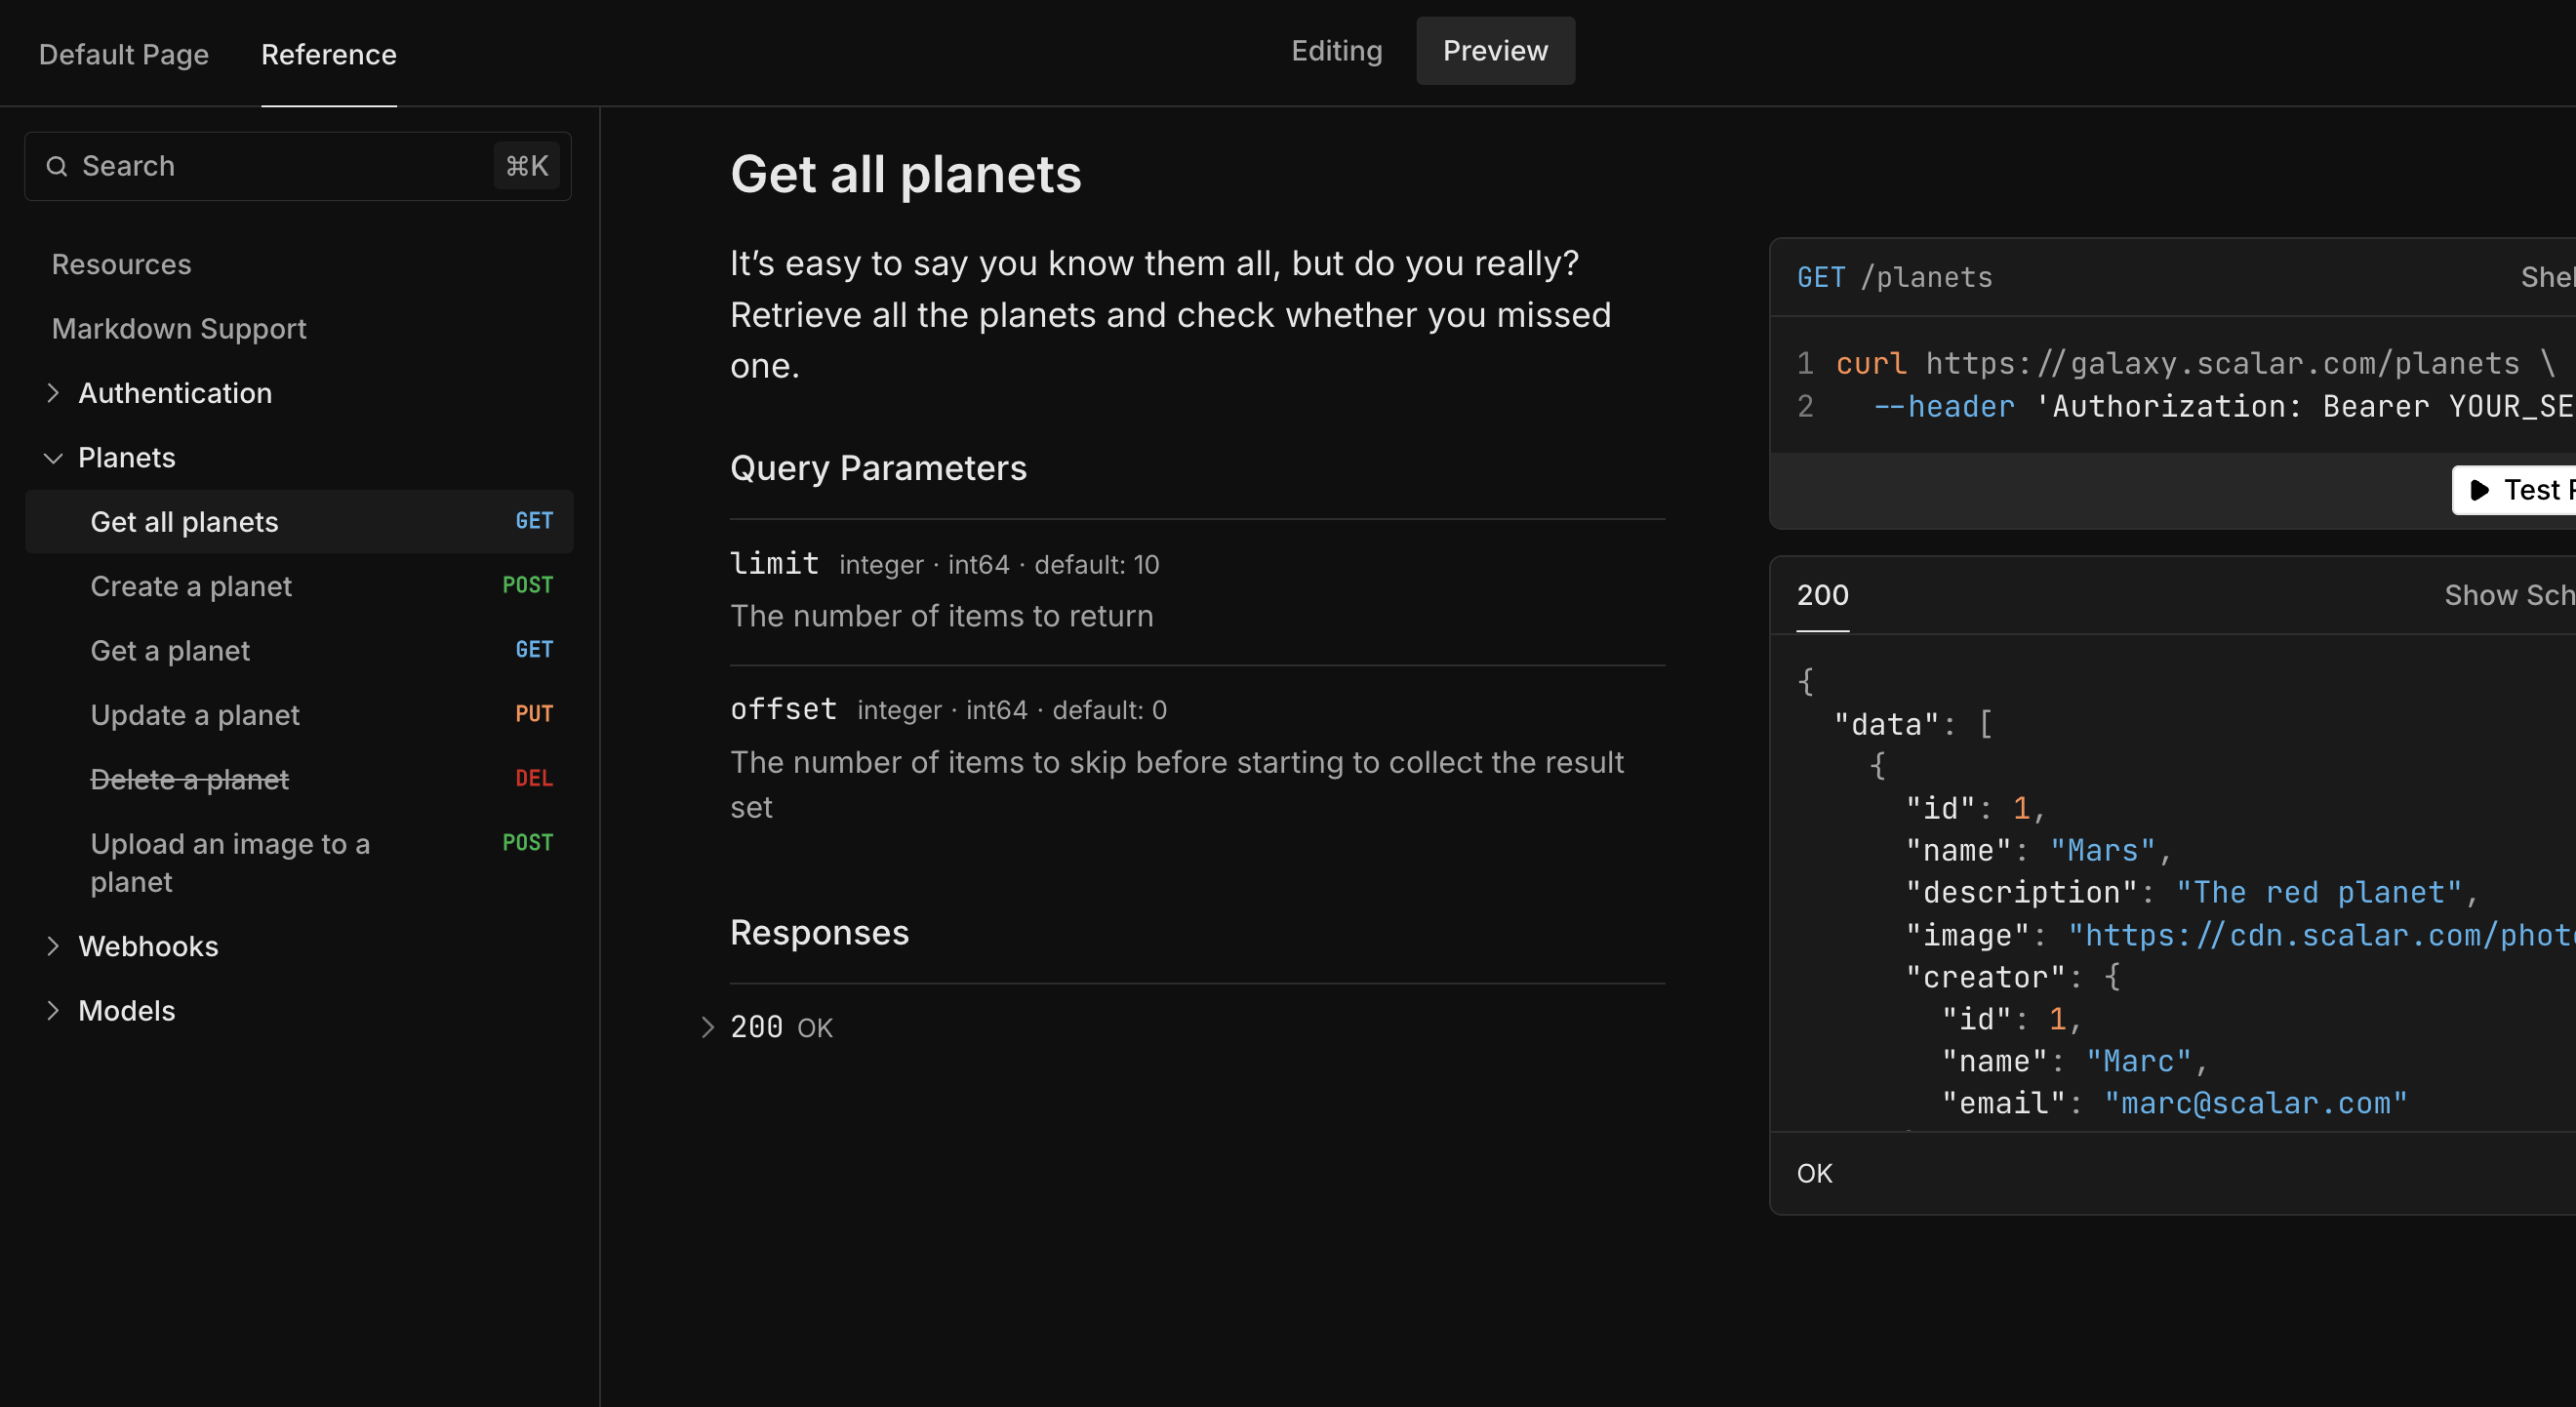
The use of .http files were not immediately adopted by my teams so I started looking at other alternatives, particularly, Scalar. Other teams I work with have built a work flow based on sharing Postman Collections configured with Authentication and multiple environments, like Dev, Test, and Production. Scalar feels a lot like Postman which caught the interest of teams around me
You can try out Scalar here. It looks like this:
In any project I’m involved in, one of the first thing I do, even before setting up a CI/CD pipeline, is to configure security. This usually uses OAuth2 with the implicit (or authorization code) flow and Azure Entra ID as a Secure Token Service (STS) for authentication.
This post will show you how to setup a .NET 9.0 project that produces an OpenAPI docment and will demonstrate how to use Scalar instead of Swagger UI. We will configure Scalar to authenticate against Azure Entra ID.
Let’s start by creating a simple API with .NET 9.0 (AOT)
By default, the .csproj file looks something like this:
<Project Sdk="Microsoft.NET.Sdk.Web">
  <PropertyGroup>
    <TargetFramework>net9.0</TargetFramework>
    <Nullable>enable</Nullable>
    <ImplicitUsings>enable</ImplicitUsings>
    <InvariantGlobalization>true</InvariantGlobalization>
    <PublishAot>true</PublishAot>
  </PropertyGroup>
</Project>
And the Program.cs
var builder = WebApplication.CreateSlimBuilder(args);
builder.Services.ConfigureHttpJsonOptions(
    options =>
    {
        options.SerializerOptions.TypeInfoResolverChain.Insert(
            0,
            AppJsonSerializerContext.Default);
    })

var app = builder.Build();
var todosApi = app.MapGroup("/todos");

var sampleTodos = new Todo[]
{
    new(1, "Walk the dog"),
    new(2, "Do the dishes", DateOnly.FromDateTime(DateTime.Now)),
    new(3, "Do the laundry", DateOnly.FromDateTime(DateTime.Now.AddDays(1))),
    new(4, "Clean the bathroom"),
    new(5, "Clean the car", DateOnly.FromDateTime(DateTime.Now.AddDays(2)))
};

todosApi.MapGet("/", () => sampleTodos);
todosApi.MapGet(
    "/{id}",
    (int id) =>
        sampleTodos.FirstOrDefault(a => a.Id == id) is { } todo
            ? Results.Ok(todo)
            : Results.NotFound());

app.Run();

public record Todo(
    int Id,
    string? Title,
    DateOnly? DueBy = null,
    bool IsComplete = false);

[JsonSerializable(typeof(Todo[]))]
internal partial class AppJsonSerializerContext : JsonSerializerContext
{
}
Next, we need to install a couple of NuGet packages
- Microsoft.AspNetCore.Authentication.JwtBearer - as of writing v9.0.1
- Microsoft.AspNetCore.OpenApi - as of writing v9.0.1
- Scalar.AspNetCore - as of writing v1.2.*
The .csproj file should now look like this:
<Project Sdk="Microsoft.NET.Sdk.Web">

  <PropertyGroup>
    <TargetFramework>net9.0</TargetFramework>
    <Nullable>enable</Nullable>
    <ImplicitUsings>enable</ImplicitUsings>
    <InvariantGlobalization>true</InvariantGlobalization>
    <PublishAot>true</PublishAot>
  </PropertyGroup>

  <ItemGroup>
    <PackageReference Include="Microsoft.AspNetCore.Authentication.JwtBearer" Version="9.0.1" />
    <PackageReference Include="Microsoft.AspNetCore.OpenApi" Version="9.0.1" />
    <PackageReference Include="Scalar.AspNetCore" Version="1.2.*" />
  </ItemGroup>

</Project>
Next, we need to configure the API to expose OpenAPI specifications
using the Microsoft OpenAPI toolset. We need to register the
Microsoft OpenAPI dependencies using the AddOpenApi()
extension method to IServiceCollection and configure the middleware
using the UseOpenApi() on the WebApplication
var builder = WebApplication.CreateSlimBuilder(args);
builder.Services.ConfigureHttpJsonOptions(
    options =>
    {
        options.SerializerOptions.TypeInfoResolverChain.Insert(
            0,
            AppJsonSerializerContext.Default);
    })
    .AddOpenApi();

...

var app = builder.Build();
app.UseOpenApi();

...
Next, we configure Scalar. This is done setting up the Scalar middleware
calling MapScalarApiReference() on the WebApplication.
You will need to import the Scalar.AspNetCore namespace
using Scalar.AspNetCore;

...

var app = builder.Build();
app.UseOpenApi();
app.MapScalarApiReference();

...
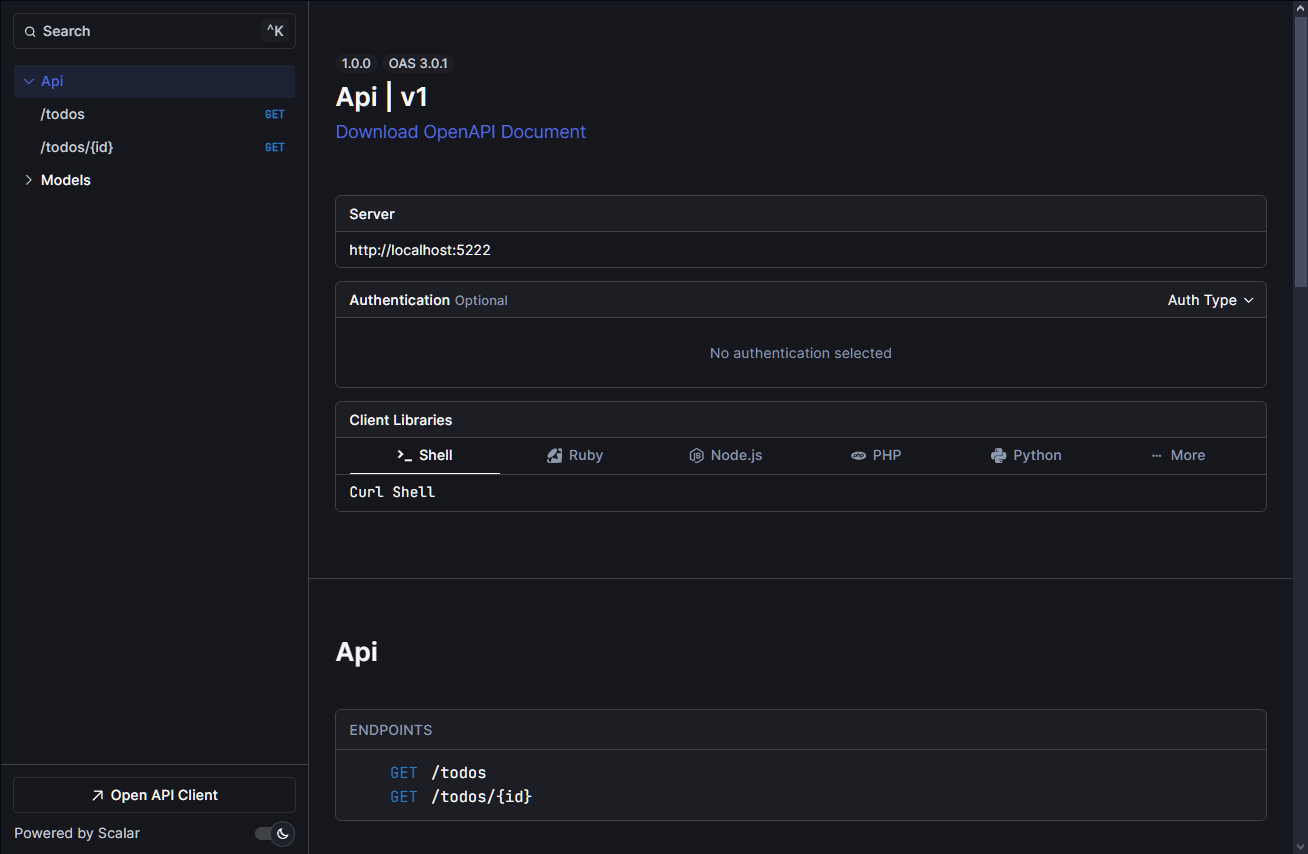
With this, we should be able to see the Scalar page on /scalar/v1.
It looks something like this:
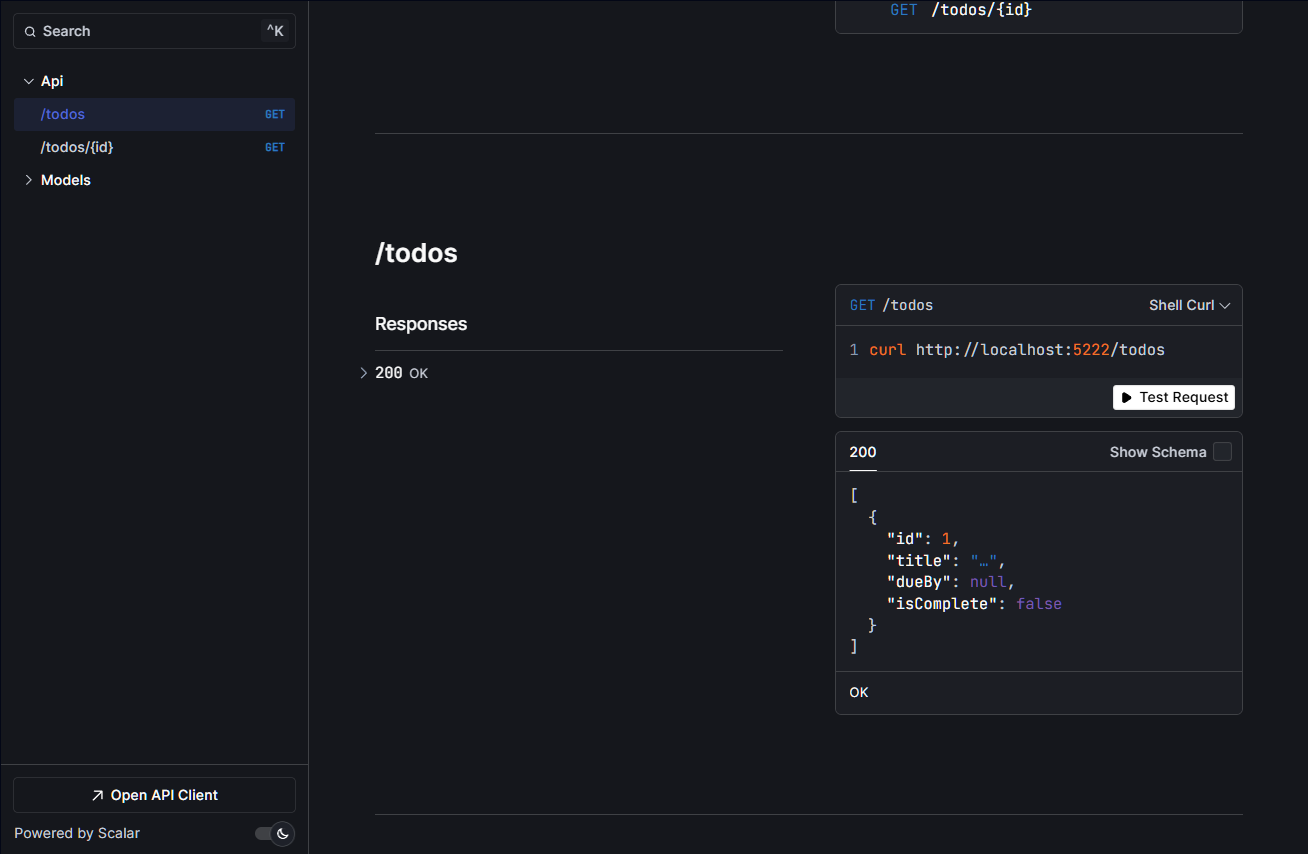
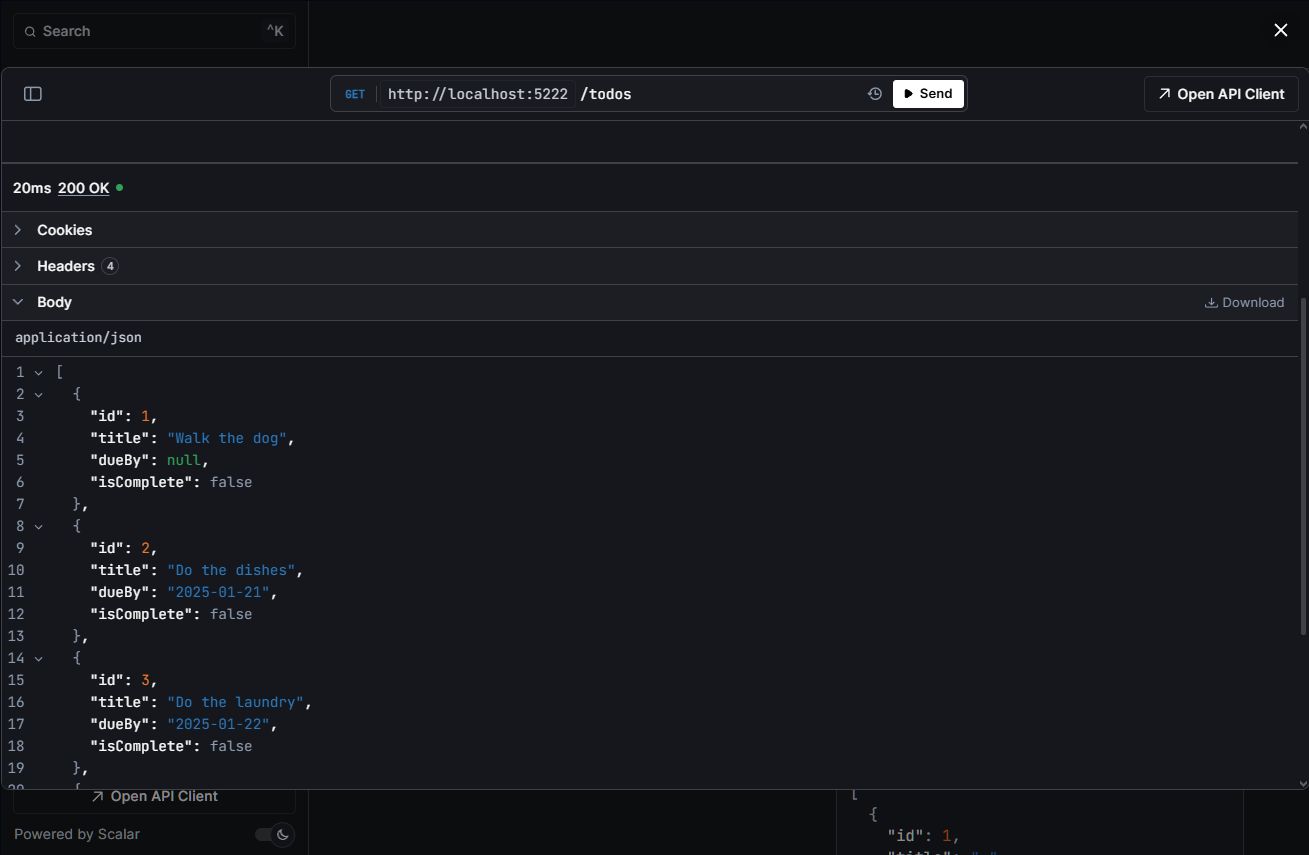
Clicking on the Test Request button from the GET /todos section will allow
you to perform tests against the endpoint. With the current setup,
it would look something like this:
By now, we have a fully functional API without any security.
Next, let’s secure the API. For this example we use JWT Bearer tokens
containing the audience and role claims. To do this,
we use AddAuthentication() and AddAuthorization() on the IServiceCollection
and enable middleware using UseAuthentication() and UseAuthorization()
on the WebApplication.
We need to configure the API require the JWT Bearer token to have the following claims
-
aud- Identifies the intended recipient of the token. In access_tokens and id_tokens, the audience is the App Registration Application URI ID, specified under the Expose an API section of your App Registration, or if not specified it is the App Registration Application ID assigned to your app in the Azure portal. Your app should validate this value, and reject the token if the value does not match. -
iss- Identifies the security token service (STS) that constructs and returns the token, and the Azure Entra ID tenant in which the user was authenticated. If the token was issued by the v2.0 endpoint, the URI will end in /v2.0. The app should use the GUID portion of the claim to restrict the set of tenants that can sign in to the app, if applicable. -
role- The set of permissions exposed by your application that the requesting application has been given permission to call. This is used during the client-credentials flow in place of user scopes, and is only present in applications tokens.
var builder = WebApplication.CreateSlimBuilder(args);
builder.Services.ConfigureHttpJsonOptions(
    options =>
    {
        options.SerializerOptions.TypeInfoResolverChain.Insert(
            0,
            AppJsonSerializerContext.Default);
    })
    .AddOpenApi()
    .AddAuthorization()
    .AddAuthentication()
    .AddJwtBearer(o =>
        {
            o.Audience = "api://[app registration client id]";
            o.Authority = "https://login.microsoftonline.com/[tenant id]";
        });

...

var app = builder.Build();
app.UseOpenApi();
app.UseAuthorization();
app.UseAuthentication();
app.MapScalarApiReference();

...
The Audience and Authority will be used in multiple places so it’s best to extract a constants class for this. While we’re at it, let’s add some other constants that will be used later
internal class Constants
{
    public const string Authority = "https://login.microsoftonline.com/[tenant id]";
    public const string ClientId = "[Scalar App Registration Application ID]";
    public const string Audience = "api://[app registration client id]";
    public const string DefaultScope = $"{Audience}/.default";
    public const string Scheme = "Bearer";
}
Now we need to require roles to access our todos endpoints. Let’s keep it simple, and use a single role called todo.read. To setup this up we the RequireAuthorization() extension method and configure it’s options to use RequireRole("todo.read")
...

var todosApi = app.MapGroup("/todos");
todosApi
    .MapGet("/", () => sampleTodos)
    .RequireAuthorization(o => o.RequireRole("todo.read"));

todosApi
    .MapGet("/{id}", (int id) =>
        sampleTodos.FirstOrDefault(a => a.Id == id) is { } todo
            ? Results.Ok(todo)
            : Results.NotFound())
    .RequireAuthorization(o => o.RequireRole("todo.read"));

...
Right now, we have no way of retrieving an JWT Bearer token from Scalar itself. But you can always acquire an access token yourself, one way to do this is to use Azure CLI with the following command, assuming that you are logged in to the same tenant and have been granted the todo.read role on the Azure Entra ID Enterprise Application associated to the App Registration.
az account get-access-token --scope [Some Application ID URI]/.default
To enable OAuth2 authentication on Scalar, we need to ensure that the OpenAPI document exposed by the API defines this securitySchemes.
To do so, we need to setup a Document Transformer things in AddOpenApi(). A Document Transformer implements the IOpenApiDocumentTransformer interface. If you have previously worked with Swashbuckle.AspNetCore, then this should feel familiar to you.
The following code confgures a security scheme that enables the OAuth2 Implicit grant flow
using Microsoft.AspNetCore.OpenApi;
using Microsoft.OpenApi.Models;

public class OpenApiSecuritySchemeTransformer
    : IOpenApiDocumentTransformer
{
    public Task TransformAsync(
        OpenApiDocument document,
        OpenApiDocumentTransformerContext context,
        CancellationToken cancellationToken)
    {
        var securitySchema =
            new OpenApiSecurityScheme
            {
                Type = SecuritySchemeType.OAuth2,
                Scheme = "Bearer",
                BearerFormat = "JWT",
                Flows = new OpenApiOAuthFlows
                {
                    Implicit = new OpenApiOAuthFlow
                    {
                        AuthorizationUrl = new Uri($"{Constants.Authority}/oauth2/v2.0/authorize"),
                        TokenUrl = new Uri($"{Constants.Authority}/oauth2/v2.0/token"),
                        Scopes = new Dictionary<string, string>
                        {
                            { Constants.DefaultScope, "Access the API" }
                        }
                    }
                }
            };

        var securityRequirement =
            new OpenApiSecurityRequirement
            {
                {
                    new OpenApiSecurityScheme
                    {
                        Reference = new OpenApiReference
                        {
                            Id = "Bearer",
                            Type = ReferenceType.SecurityScheme,
                        },
                    },
                    []
                }
            };

        document.SecurityRequirements.Add(securityRequirement);
        document.Components = new OpenApiComponents()
        {
            SecuritySchemes = new Dictionary<string, OpenApiSecurityScheme>()
            {
                { "Bearer", securitySchema }
            }
        };

        return Task.CompletedTask;
    }
}
Now that we have a Document Transformer, we need to use it by calling AddDocumentTransformer<OpenApiSecuritySchemeTransformer>() in the OpenApiOptions provided upon AddOpenApi()
var builder = WebApplication.CreateSlimBuilder(args);
builder.Services.ConfigureHttpJsonOptions(
    options =>
    {
        options.SerializerOptions.TypeInfoResolverChain.Insert(
            0,
            AppJsonSerializerContext.Default);
    })
    .AddOpenApi(o => o.AddDocumentTransformer<OpenApiSecuritySchemeTransformer>())
    .AddAuthorization()
    .AddAuthentication()
    .AddJwtBearer(o =>
        {
            o.Audience = "api://[app registration client id]";
            o.Authority = "https://login.microsoftonline.com/[tenant id]";
        });

...

var app = builder.Build();
app.UseOpenApi();
app.UseAuthorization();
app.UseAuthentication();
app.MapScalarApiReference();

...
This should add the securityScheme to the OpenAPI document components when retrieving it from the /openapi/v1.json URL
"components": {
  ...
  "securitySchemes": {
    "Bearer": {
      "type": "oauth2",
      "flows": {
        "implicit": {
          "authorizationUrl": "https://login.microsoftonline.com/[tenant id]/oauth2/v2.0authorize",
          "tokenUrl": "https://login.microsoftonline.com/[tenant id]/oauth2/v2.0/token",
          "scopes": {
            "api://[app registration client id]/.default": "Access the API"
          }
        }
      }
    }
  }
}
When we run the API and browser to the Scalar page then we should now see that the Auth Type dropdown now has a Bearer option

and when selecting Bearer you will see pre-populated options for OAuth2 and a pre-checked scope
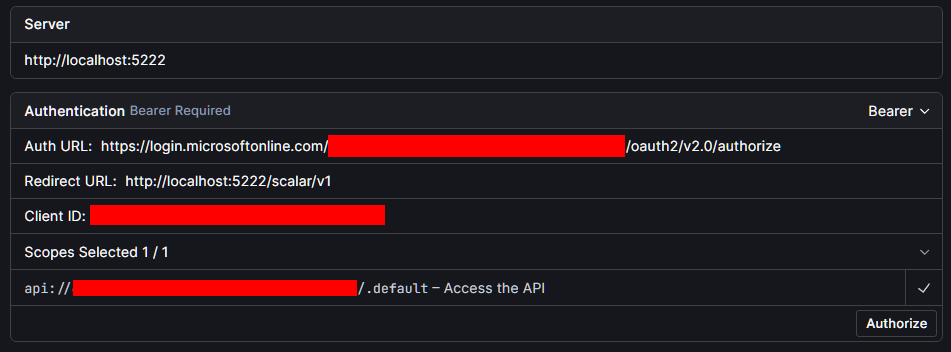
Clicking on Authorize should open a window prompting for user credentials
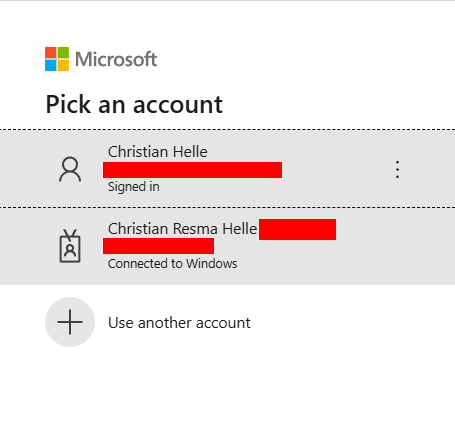
and upon successful authentication, the access token is copied over to Scalar
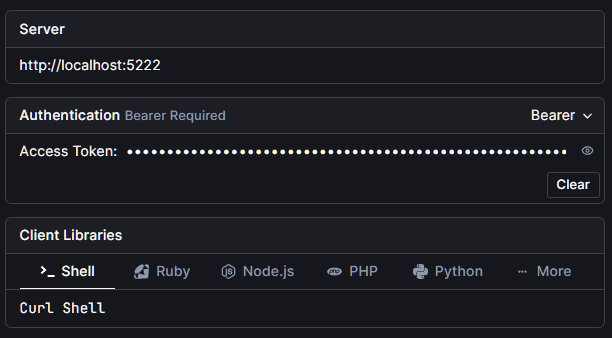
and is automatically used when sending API requests from Scalar
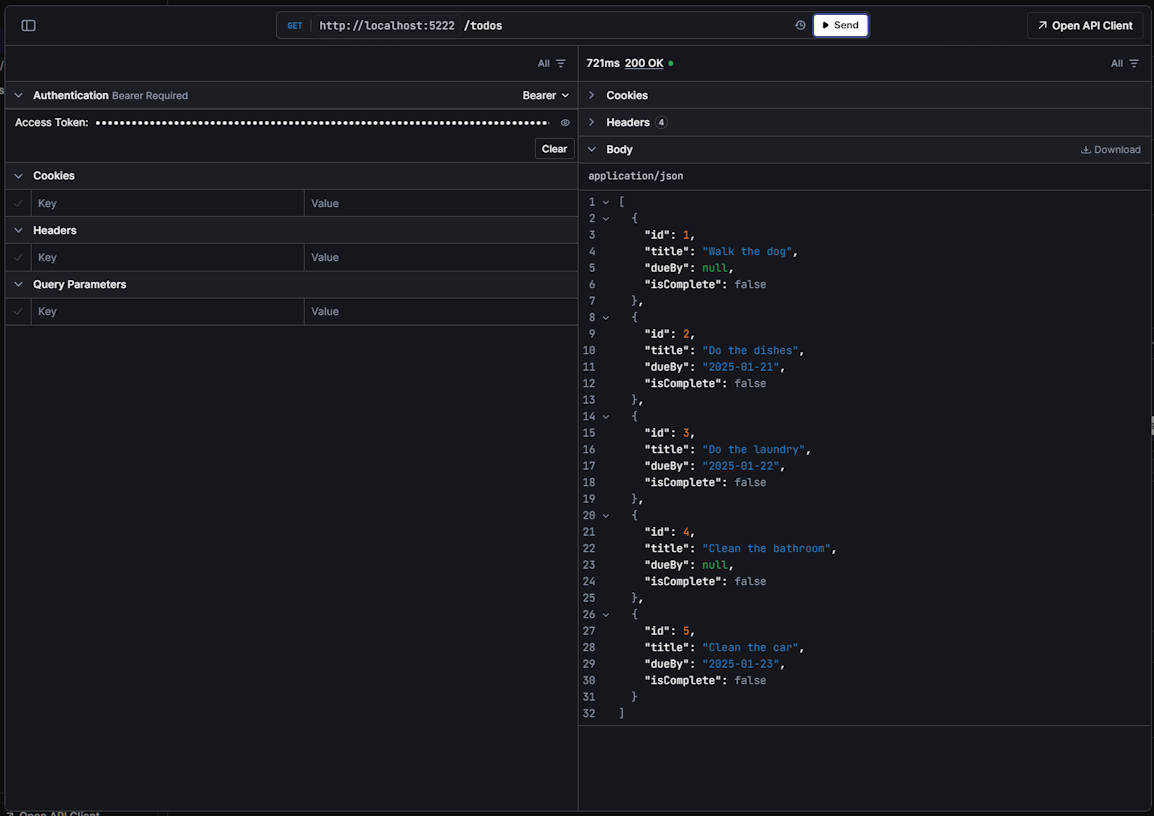
I published an example project to Github if you want to try it out yourself.